–
This piece was written by Cameron, HES Historic Building Conservation Trainee at Millstone Restoration from September 2019 – 2020
–
Our Historic Building Conservation Trainee, Cameron, gets to see a lot of interesting traditional buildings during his placement! Below he lets us know about a project he and his host organisation were working on in early 2020, which was the repointing of the Grainsby Church wall.
The 6 months that I’ve been on this course have flown by! I feel like I started yesterday, although I know more than I did then. My placement is with Millstone Restoration, a small family-oriented business with more passion than larger firms and set atop a beautiful hill in the Lincolnshire Wolds (a view that spans from the Boston Stump to the North Norfolk Coast).
We specialise in Church conservation, mostly with the redundant churches that are looked after by the Churches Conservation Trust. This work is mostly maintenance, taking care to ensure the churches survive as long as they can.
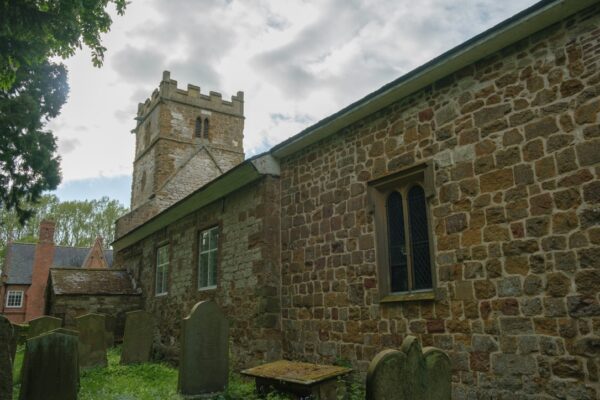
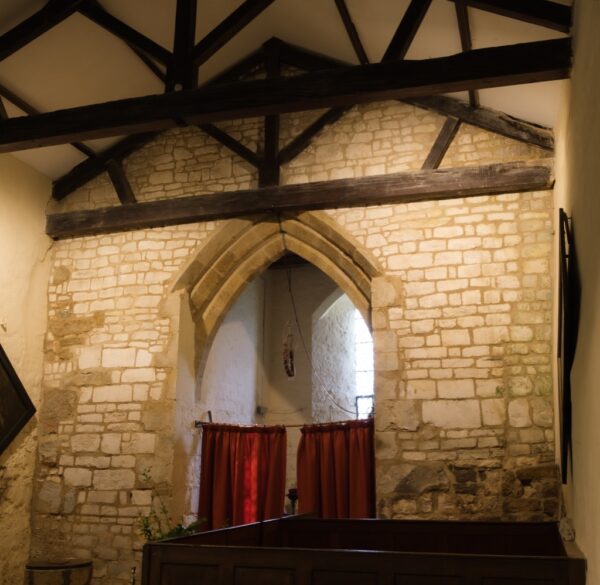
This week we were tasked with a living church in the little village of Grainsby, just the other side of Louth from where we’re based. This chalk based beauty was built around the time just after the Norman Invasion, and has had the odd fix and patch over the years; the tower was added in the 16th century (good old Henry), and the roof was swapped for tiles over what we assume would have been thatch just after that – you can still see the originals roofline on the tower.
Some time ago, and it must have been fashionable at the time because a few of the churches have this style of repair, the mortar around the chalk blocks making up the west facing tower wall had been replaced with cement. Cement is harder than both the chalk blocks and the soft ground has allowed this church to move ever so slightly over the many many years. This cement doesn’t accommodate the “breathing room” that this church is used to, and will cause more damage over the years to come.
Our job is to remove this cement and replace the gap with lime mortar, as close as we could get to the lime the original builders would have used. In the nature of this job though, when you start taking things off other things – especially with cement, blocks will shake loose and potentially fall and damage the interior of this lovely church.
On our first visit was to conduct a little survey of the size of the wall, what was in the way and what needed moving before we could begin. A local carpenter would make repairs to the pew that backed onto this wall, and we removed it ready for him to collect. This had to be done delicately and with minimal damage – we were lucky that it wasn’t attached to the wall itself.
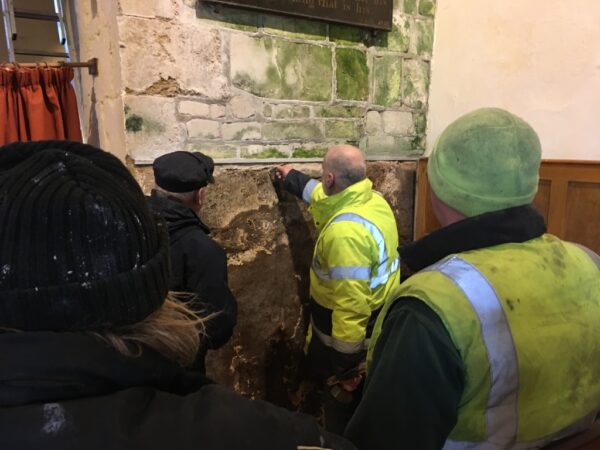
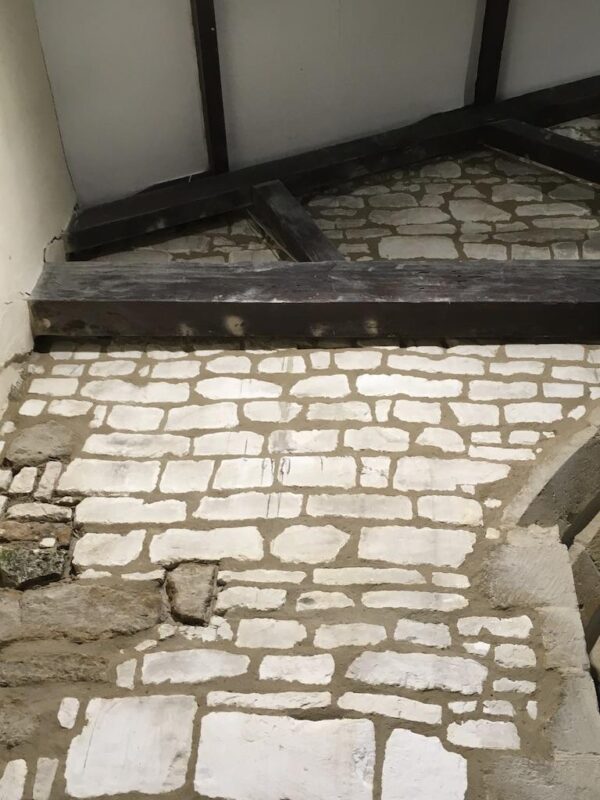
You can see from this picture to the left that when the cement was installed, they didn’t move the pew, and in fact, it was resting on top of the wood – which wouldn’t help matters either. You can also see the stonework underneath is so old that the lime mortar that was there has failed and turned into dirt – which probably led to the cement repair.
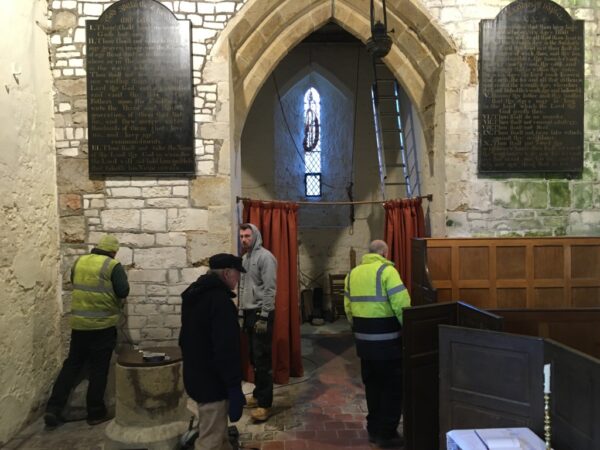
The first day of work started, we cleared the area, put sheeting down and took the two massive judgement wall hangings down (later to be rehung in the chancel). We put up some dust sheets too, sealing off the rest of the church to minimise dust. We erected some scaffolding and started with taking the cement out. Our technique for this was to use a grinder and cut a ‘trench’ out of the middle and carefully chip away from the stone using our trench as leverage – so as not to chip the soft chalk.

A lot of the time we were on this job was taking the old cement out. They’d done a job on it! As we worked on the corners, there was no preventing large pieces of stone from falling. We collected them so they could be bedded back in at a later date.
Over the next couple of days, we worked at this, collecting the fallen stone, neatening up the edges and even came across some deep holes, hidden behind single stones. These were the remnants of the original scaffolding, large poles would be inserted and would protrude enough to lay planks down as a platform, once finished they’d pop the right size stone in and lime around and you’d never have known.
After this (and another cleanup) we were ready to start pointing; we start from the top because we have to wet the stone for the mortar to stick, and we don’t want to soak the work we’ve already done. While doing this though we bedded in the larger pieces that had fallen out so they could set for a day or two before pointing around the edge.
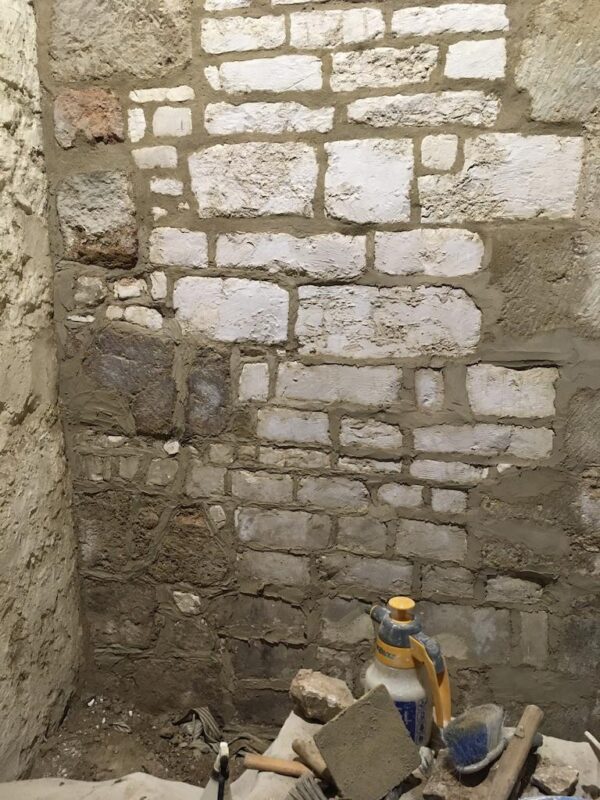
We split the wall into quarters, this process didn’t take too long although the drying of lime did. It needs a couple of days to ‘go off’ before we can do the finishing touches. With lime you put on more than you use, and once it goes off you “brush” it. Which makes it nice and neat but also consolidates the lime making it bind better to the stone and stronger overall.
Once it’s complete, it was time to tidy up. The cement kicked out a load of dust and the excess lime inevitably ended up over the floor, so we took maybe another day or two to clean our mess. We pride ourselves on doing a good job so we also cleaned the old dusty beams and checked for a potential leak on the north side (most likely down to a spitter on the tower dropping water onto the edge of the roof). We took down the scaffolding only when we knew we didn’t need it anymore. Cleared our tools and everything out and gave our section a good clean before taking down the dust sheets. The carpenter wasn’t done with the pew restoration but we rehung the commandments on the other side of the church and had a chat with the keyholder and local architect to make sure they were happy with the work, which they were!
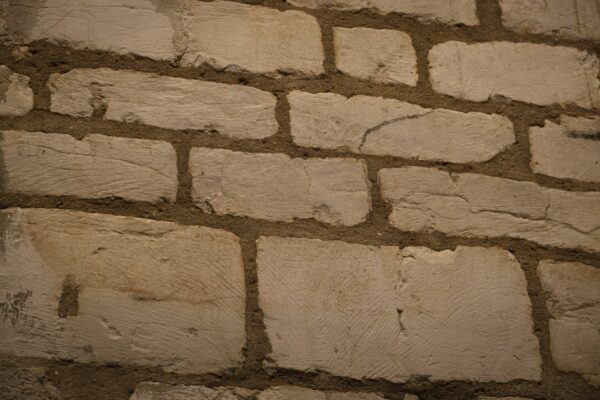
This was one of those jobs which I love, as you’re at the same location you really get to know what you’re working with, and the history behind the building! Meeting the locals really gives you more of an insight about them too. This was a small, short job that only took 2 weeks from start to finish but I came away richer (in knowledge) than I would have if the job had taken a day. For example, you can see the marks that the original mason made while cutting these chalk blogs to fit in the image below. It’s this sort of thing that to me, gives buildings like this so much character. You can even catch glimpses of someone’s day sometimes, if you work in a church for an extended period of time you can eventually see the different traits that particular stonemason had.